If you had been watching the live streaming of Microsoft Business Application Summit, 2019 kick off and keynote sessions by James Phillips, Wim Coorevits and others. I’m pretty sure you are stunned as I am. Out of all those astonishing releases, the AI builder is something that fell in love immediately and I wanted to try it out right away, couldn’t believe how the AI modeling is wrapped up and made simple for the Citizen Developers to use it.
Before AI modelling, the same set of features would have taken a considerable amount of time to build the same with PowerApps + Flow + Azure Cognitive Services.
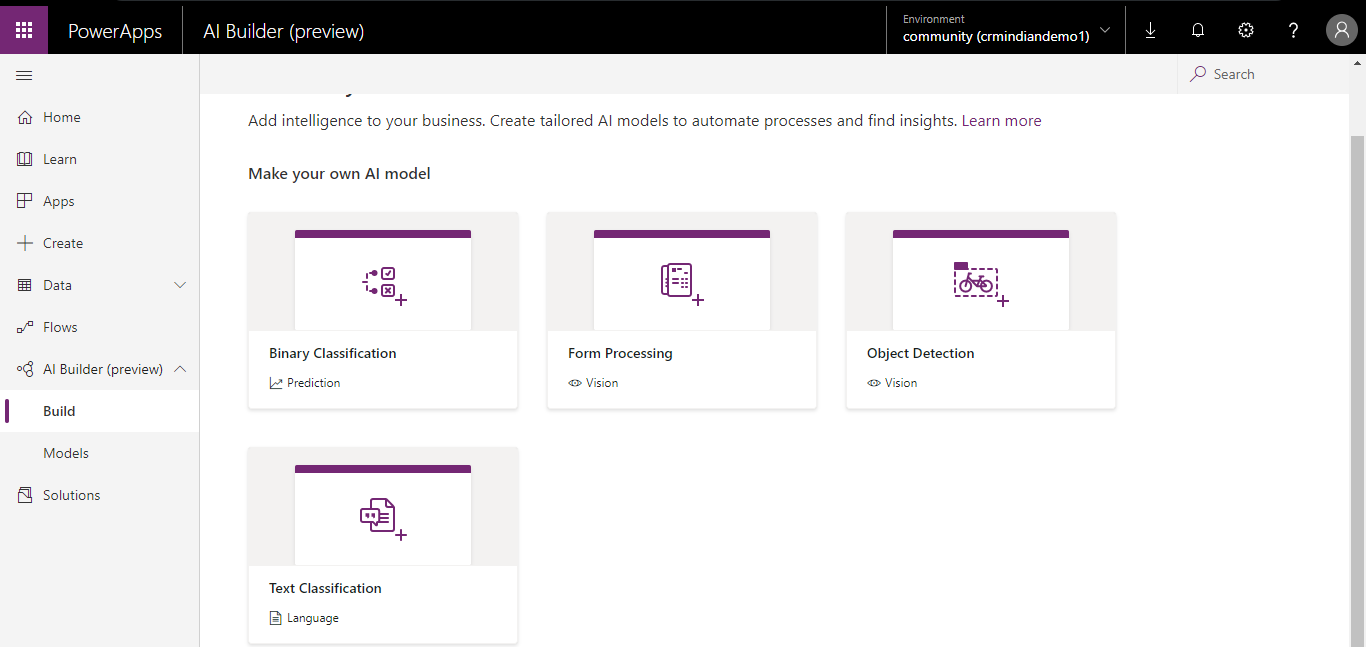
I just tried and I explain here about creating an Object Detection AI Model of the AI Builder to identify my perfume, couldn’t think too much at 3 A.M :). Before jumping into the steps, let’s see a quick overview of what is AI builder and some real-time use cases.
For a quick demo, check out my LinkedIn post: https://www.linkedin.com/feed/update/urn:li:activity:6543947333082673152
AI Builder is a low code artificial intelligence platform that supports the Power Platform. It will be available for consumption on data that already exists in the Common Data Service (CDS), the enterprise-grade datastore included in the Power Platform
Key capabilities of AI builder as of now:
- Binary Classification – uses historical data to predict whether new data falls into one of two categories. AI Builder binary classification is an AI model that predicts yes/no business outcomes by learning to associate historical data patterns with historical outcomes.
- Text Classification – one of the fundamental Natural Language Processing (NLP) problems. It allows tagging of text entries with tags or labels which can be used for sentiment analysis, spam detection and routing customer requests, just to name a few examples.
- Object Detection – lets you count, locate, and identify selected objects within any image.
- Business Card Reader – is a component available in the PowerApps studio that lets you scan business cards. You can use this control to extract contact information from pictures of business cards or your mobile phones camera.
- Form Processing – identifies the structure of your documents based on examples you provide to extract text from any matching form. Examples might include tax forms or invoices. Check out for Dynamic Mano’s blog for detailed steps.
Make sure your admin has enabled AI Builder for your environment. Otherwise, you won’t have access to the AI builder functionality. More information: Enable or disable AI Builder feature.
1. Navigate to Build-> Objection Detection
2. Choose the object name [Buid a Model]
I Builder requires the use of Common Data Service, which is the data platform for PowerApps and allows you to store and manage business data. Common Data Service is the platform on which Dynamics 365 apps are built so if you’re a Dynamics 365 customer, your data is already in Common Data Service.
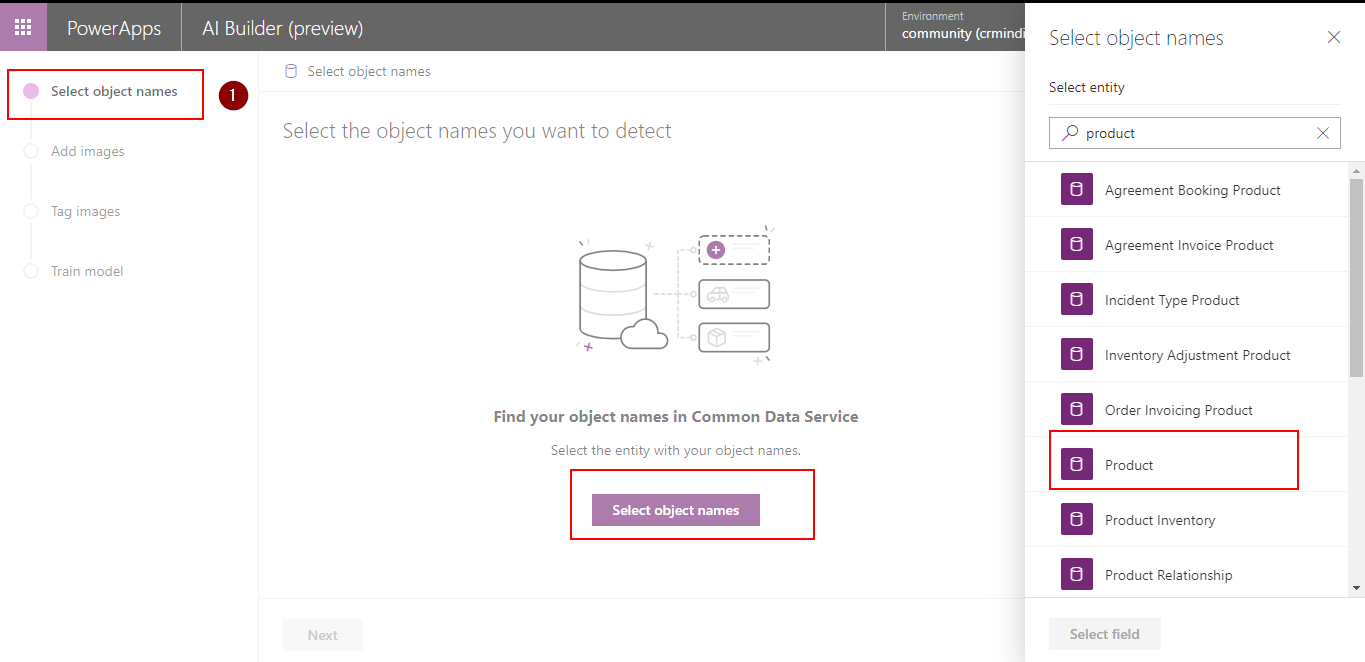
Choose the record you would like to play with. I wanted to build a model that can identify Versace Eros and Burberry London, so I select them both.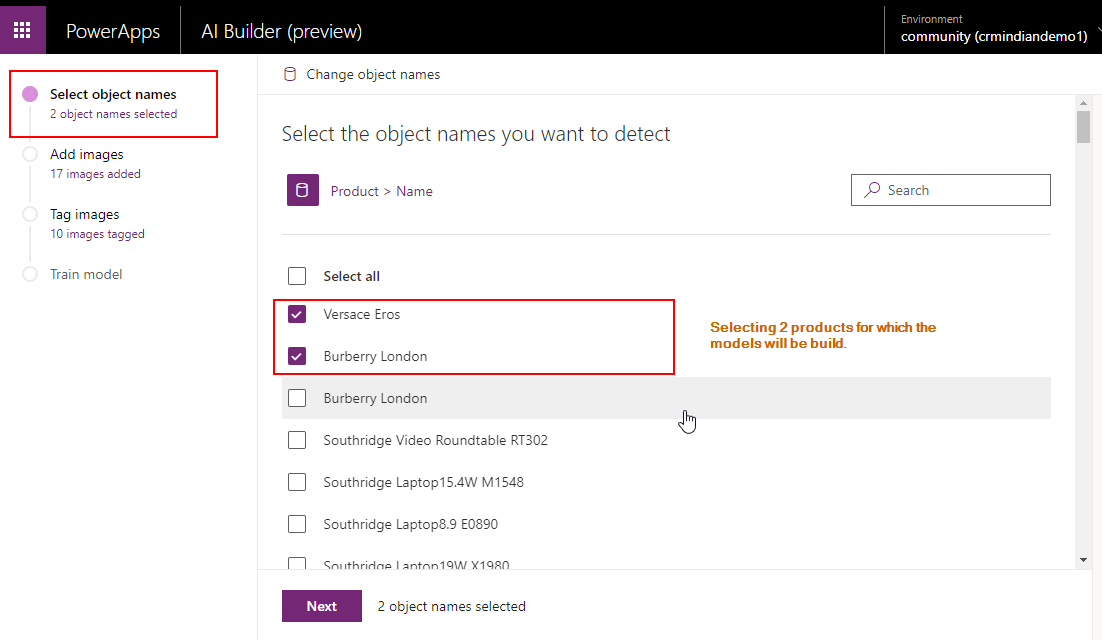
3. Collect images [Train a Model]
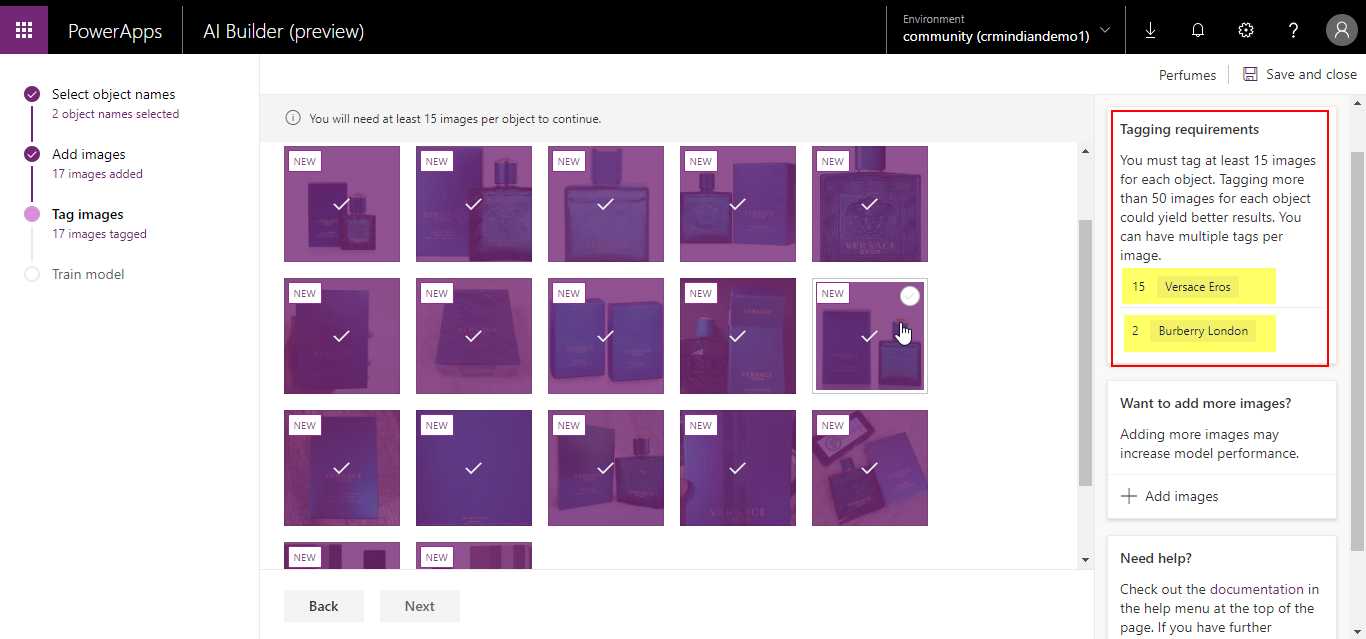
Upload at least 15 images to proceed further. Microsoft recommends at least 50 images per product for the training set as a starting point. With fewer images, there’s a strong risk that your model will learn concepts that are in fact noise or irrelevant details. Training your model with more images will generally increase the accuracy of prediction results.
https://docs.microsoft.com/en-us/ai-builder/collect-images
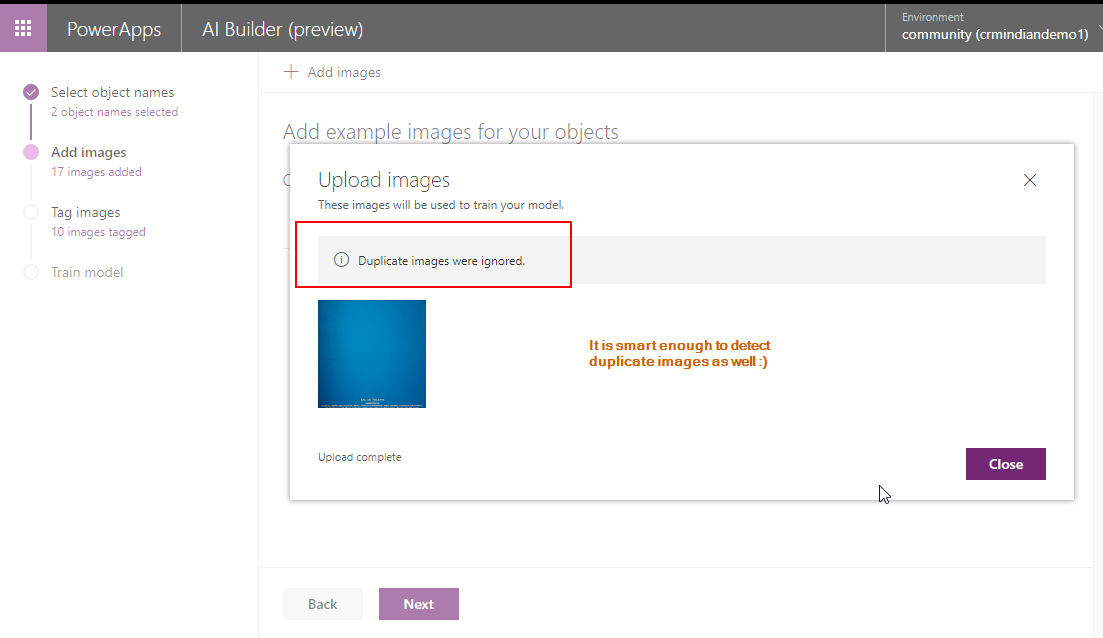
It prevents uploading of duplicate image (hope its not by the name).
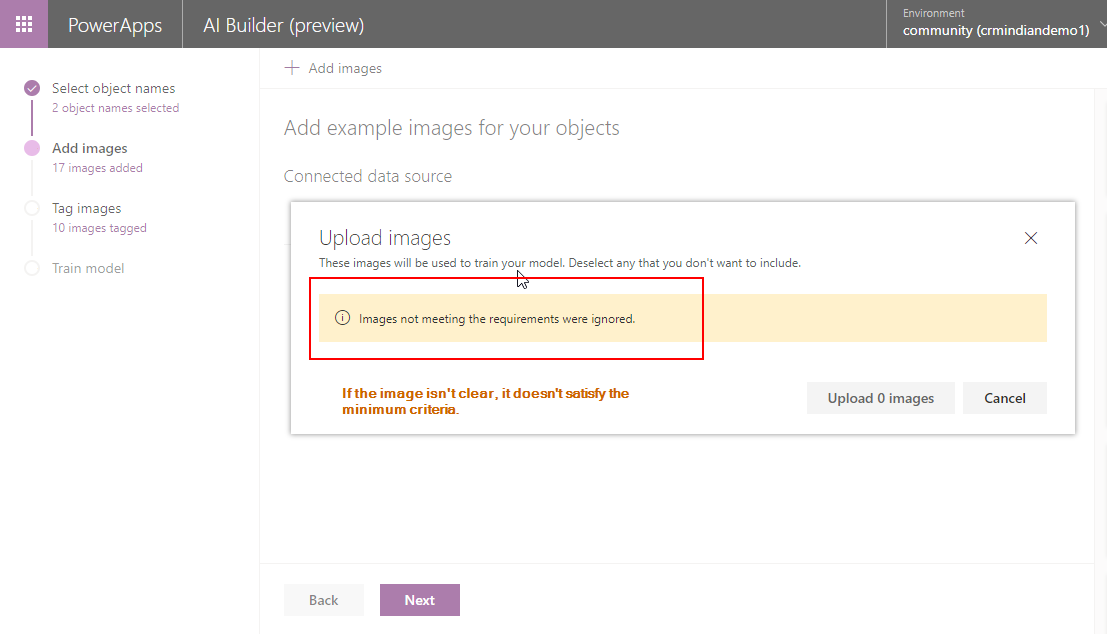
Rejects if the image doesn’t solve the minimum requirement
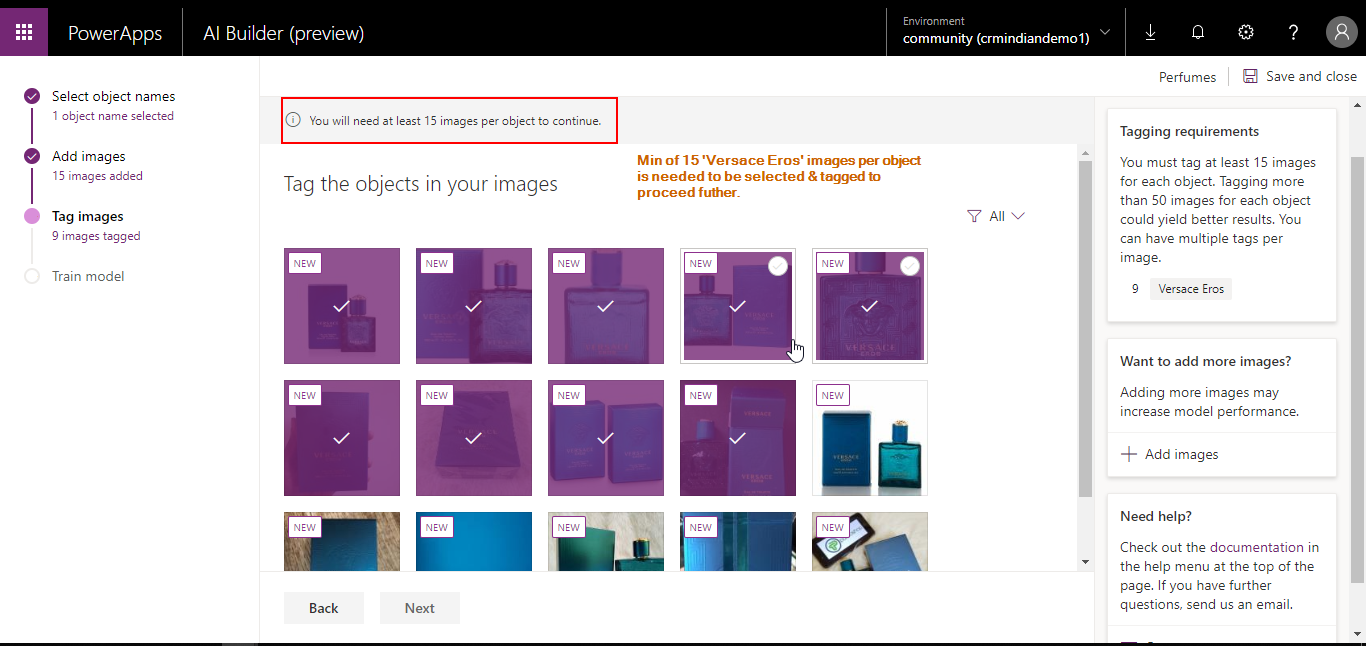
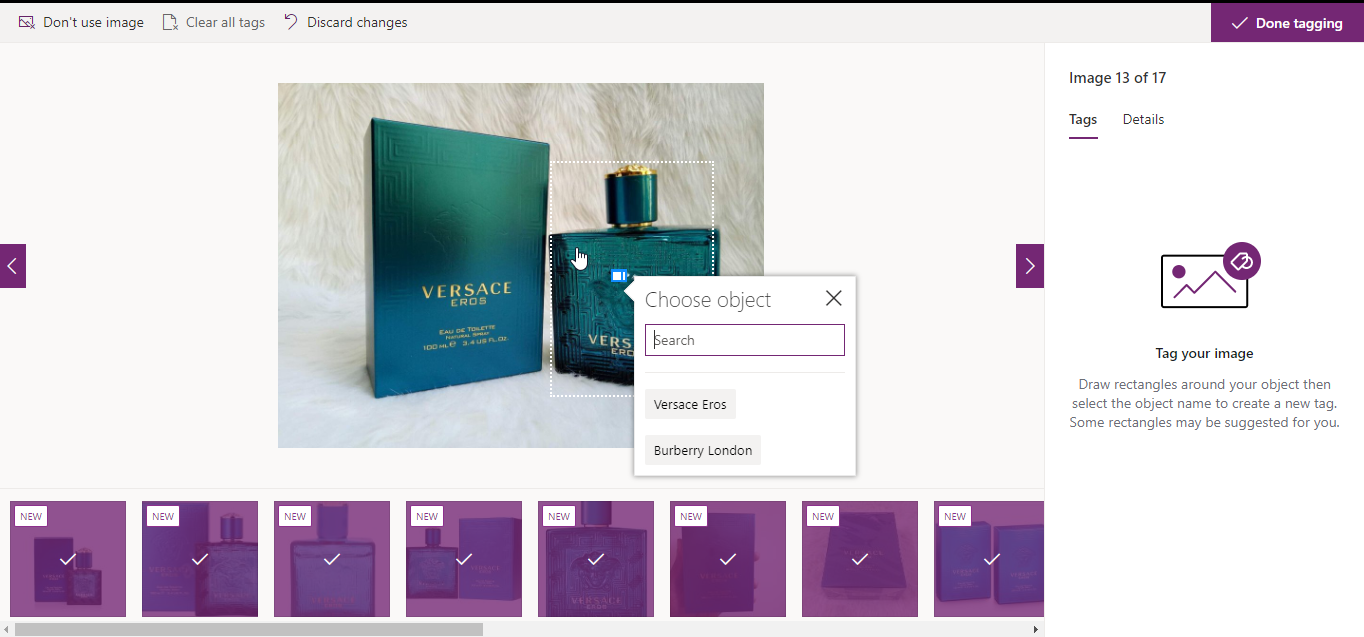
4. Tagging images
Navigate from image to image, and tag at least 15 images per object name to build a model.
Tagging requirements pane shows the objects being tagged and their tag counts.
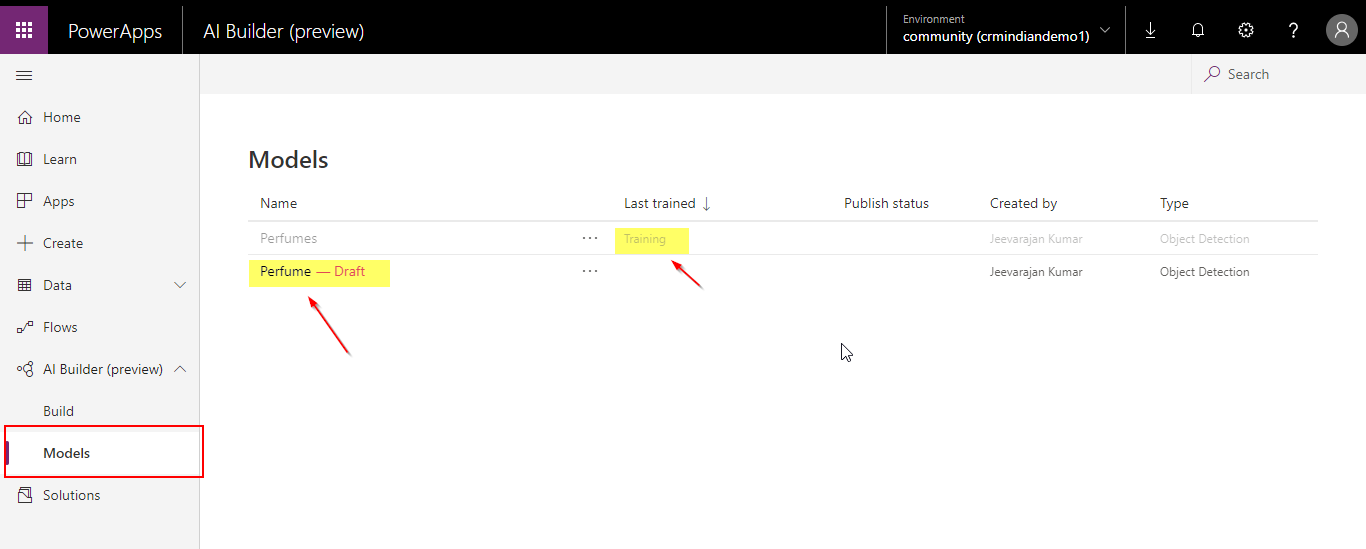
5. Train the Model
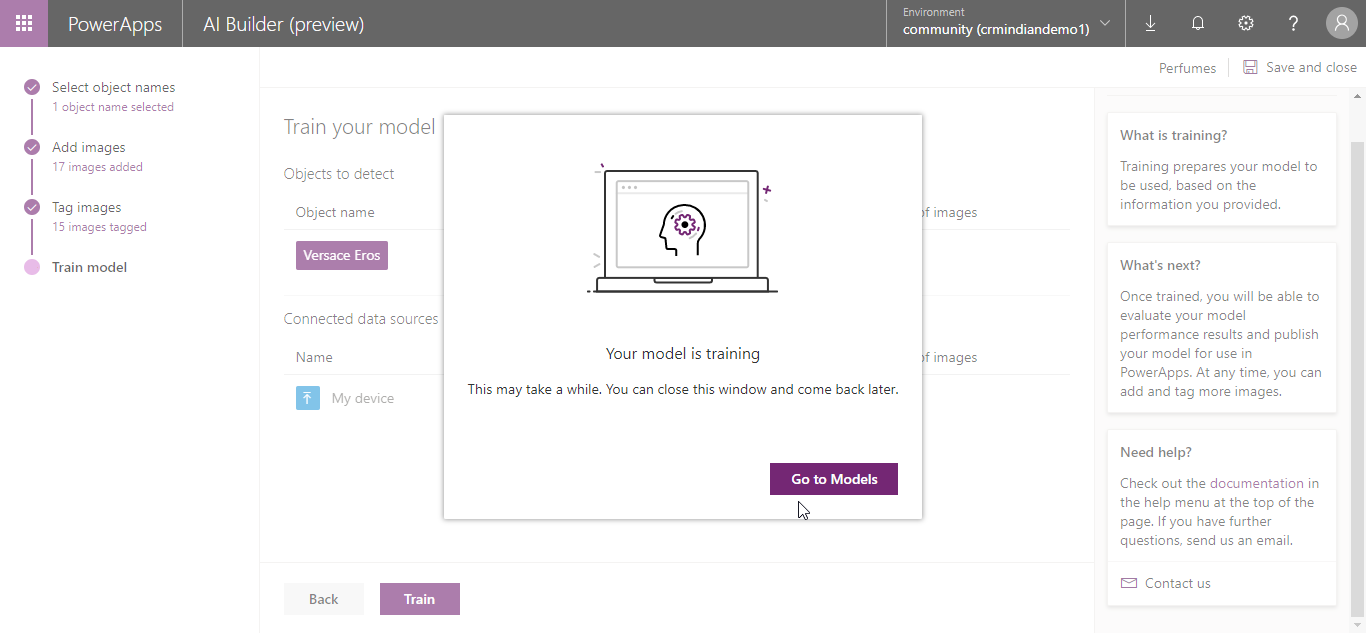
Status can be tracked under the Models pane
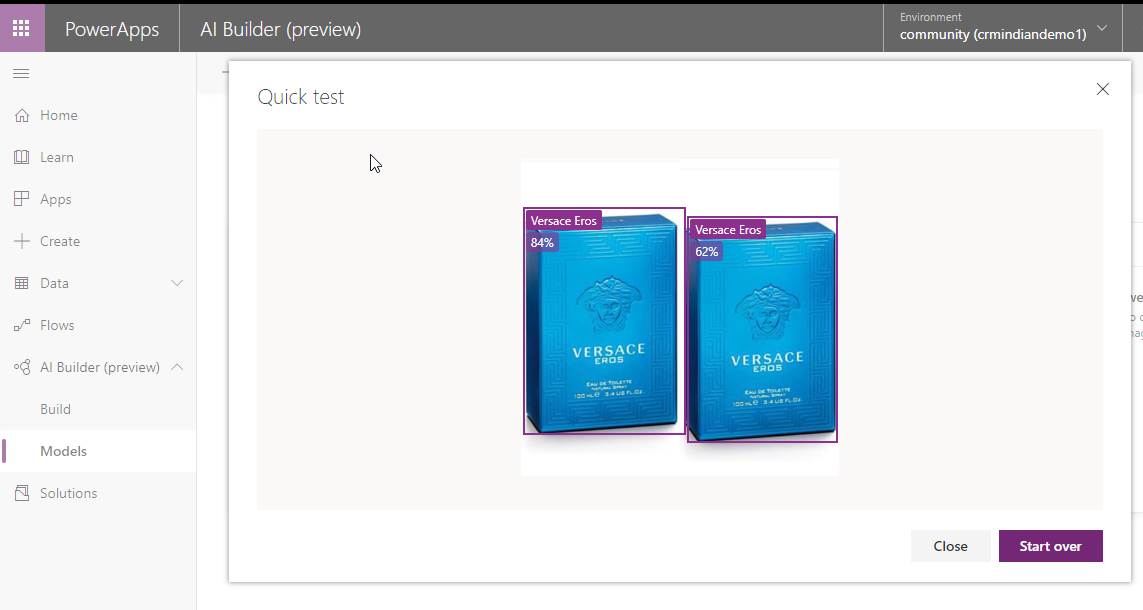
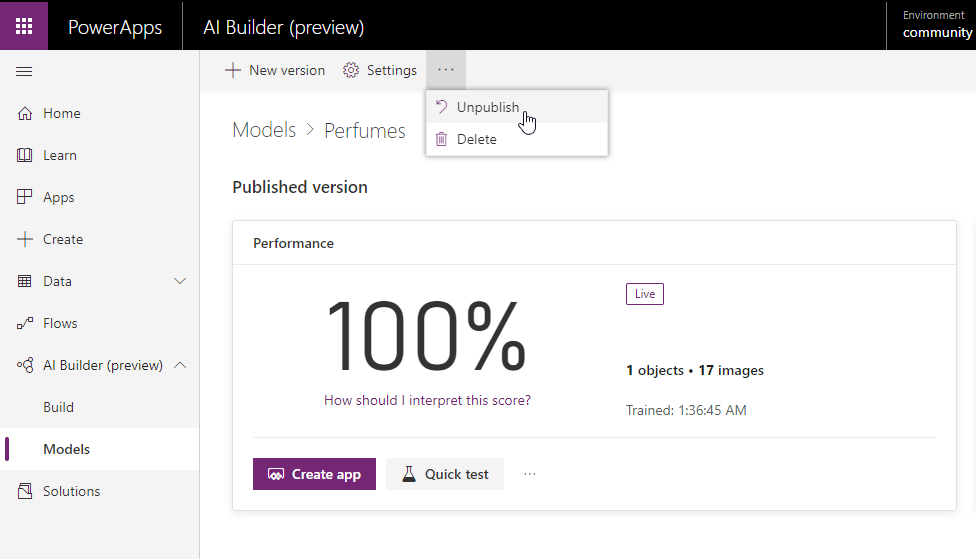
6. Test & Publish:
Use the ‘Quick Test’ to test the model’s accuracy and then Publish to consume it in the app.
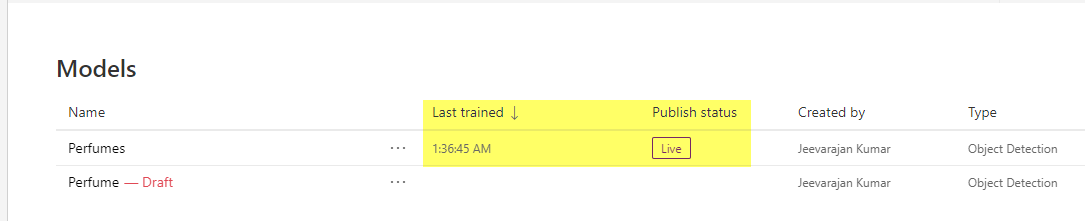
Publishing the model:

The app will throw below error if the referenced model is unpublished.

Status is changed to ‘Live’ once published
Either you can create an app using ‘Create app’ or can be inserted from the AI Builder (preview control).
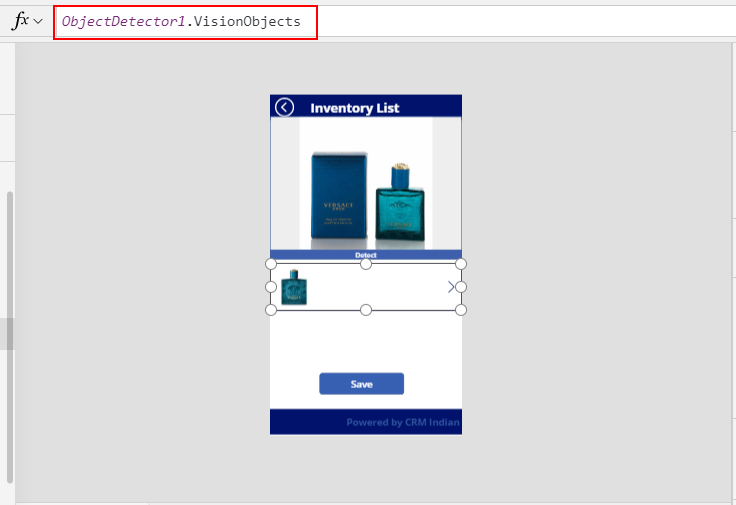
7. Using the model in the App
AI Builder controls as shown below

I have added a gallery and used the ObjectDetector.VisionObjects result to bind the Name and Count.
Hope this would be a starting point to explore the AI Builder.

I have tried but Does not display the name or the count on the phone app
However, on the web browser this is working.
LikeLike
Hi Raheman,
Thanks for checking out the blog, glad it helped. It is weird that it’s not working on phone, can you please sign out, close the app and log in again.
LikeLike